Welcome to our plot!

I'm Hazel, and in Nov 2006 my friend Jane and I took on a half plot at Hill Allotments, Sutton Coldfield - we want the satisfaction of growing and eating our own fruit and veg, and to improve our diet (and fitness!).

This is the story of what happened next...........

Showing posts with label blackcurrant wine. Show all posts

Wednesday, November 23, 2011

Blackcurrant Wine - The Outcome

Remember the blackcurrant wine that I started back in November 2010 and did a step-by-step guide? Well it has been in the bottles since February, and I've started the first bottle.

Gosh.

It really is rather good.

A very passable, fruity, full bodied red.

In the cold light of morning I am going to go and squirrel one or two bottles away for further maturing and very special occasions.

Mm-mmmm.

Sunday, February 20, 2011

Blackcurrant Wine - Step 4, Month 3

Step 4: ..... Let it stand until fermentation ceases & the wine clears, usually in about three months, then siphon off into fresh, sterilised bottles

And duly, three months later, here we are. Mind you, because the wine is so richly purple, frankly, I have no idea if it has cleared or not – even with a strong light behind the demijohn, it just looks well, purple.

But racking the wine off the little layer of sediment will be a good idea (don’t want the wine sitting in its own yuk for too long in case the yuk taints the taste of the wine), so after sterilising the tube & a bucket it’s time to take off the airlock & see what’s what.

With the bucket on the floor (on newspaper – we don’t want blackcurrant wine spilling on the carpet at all!) & the demijohn on a table, the one end of the tube is put in the wine half way, & the other end gets a good suck to pull some wine up the tube.

Stick your finger over the end then lower the tube into the bucket – take off finger & watch the wine transfer from the demijohn up the tube & down into the bucket.

A clip on the tube is handy here so you can secure the tube to the bucket whilst you keep a beady eye on the wine in the demijohn. Keep the tube end under the falling wine level, but away from the sides/bottom, & when it gets to within about an inch of the bottom, pull the tube up & out of what’s left.

Now you have a bucketful of wine which CJJ says can be siphon off into fresh, sterilised bottles. Good practise says that he’s a little previous – before bottling, wine should be stabilised to stop the possibility of any further fermentation at all – the last thing you want is fermentation happening in the bottles – they’ll explode!

So the final step before bottling is to pour the wine from the bucket back into the rinsed-out the demijohn (not forgetting to take a sample to measure the SG & have a quick taster) & to add a crushed Camden tablet, & a teaspoon of potassium sorbate in order to stabilise the wine.

This is where the reserved portion of wine comes in - the level in the demijohn will be lower than it was, as we’ve left some wine/sediment behind when we siphoned, so carefully top the demijohn up back to its previous level.

Leave it alone for a couple of weeks – any final sediment will settle out, then it’s time to bottle & mature.

Friday, November 26, 2010

Blackcurrant Wine - Step 4, Week 3

Step 4: ..... then let it stand until fermentation ceases & the wine clears, usually in about three months.

After a couple of weeks or so, the blackcurrant wine has stopped noticeably bubbling through the airlock and just sits not doing much, so fermentation has pretty much finished.

It's time to take it from its nice warm spot by the radiator - where I keep tripping over it - and up into the attic room out of the way in order to clear. CJJ doesn't say to do this here, but elsewhere in the book he says to move wines to a cool place to clear, so that's good enough for me.

I've angled the demijohn (by resting the back edge on a handy inch-thick notepad) so that as the sediment settles, it will all be piled up in the corner rather than a thin layer over the whole bottom area, which will mean it'll be easier to siphon off more of the good stuff later.

When I do siphon off the wine from the sediment, I'll make the level back up with the extra in the milk carton, but there is surprisingly little sediment which means that I might not need all of the extra.

Meanwhile, I can forget about it for a few weeks until it looks clear.

Sunday, November 14, 2010

Blackcurrant Wine - Step 4, Day 9

Step 4: Then strain into a fermenting jar, fit an airlock then let it stand until fermentation ceases & the wine clears, usually in about three months.

Sploshing buckets of blackcurrant wine into a demijohn via a sieve & funnel is potentially pretty messy, & blackcurrant is likely to stain - so it's on with the pinny. All the kit sterilised (demijohn, sieve, funnel, jug, sample tube, hydrometer & airlock), then first up is to measure the SG to see what all that frothing has been about.

At 998 already, the yeast has romped through the sugar, and an SG this low implies that we will have lip-puckeringly dry wine - so now is the time to add some more sugar. Another 4oz goes into the bucket, and then the is SG taken again.

The reading this time is a more reasonable 1006 - the SG will drop further as the wine continues to ferment, & we're aiming for a final SG of about 1000.

I put the wine through the sieve & funnel into the demijohn (there's some leftover which goes into an old milk carton for the minute - we'll need this for topping up once the wine is siphoned off the rest of the blackcurrant pips & sediment) and an airlock fitted.

It's back into a warm room for a few days to carry on fermenting - then I'll put it up in the cool attic room to be forgotten about for three months or so until it starts to look clear with the sediment in a layer at the bottom.

Thursday, November 11, 2010

Blackcurrant Wine - Step 3, Day 6

Fermentation is the magic bit of wine making - sprinkling fairy dust yeast on a bucket of fruit juice & the juice turns into wine.

As CJJ says, 'when the yeast is put into a sugary solution, it begins to multiply vigorously & in the complex chemical processes which ensue, the sugar is converted roughly half to alcohol ... & half to carbon dioxide...'

And just a day or so after adding the yeast, not only are there warm & yeasty smells coming from the bucket, but there's a constant shifting in the surface froth as bubbles burst & new ones break to the surface & listen closely & you can hear the fizzzzzzzzzzz of all that yeast furiously multiplying, feeding on the sugar & exuding alcohol & gas.

Actually, examining the process in that much detail makes it all sound rather mundane & more than a bit grubby.

We'll stick to the magic fairy dust, I think.

Wednesday, November 10, 2010

Blackcurrant Wine - Step 3, Day 4 - addendum

In all the excitement of adding yeast to start off the fermentation of the blackcurrant wine yesterday, it slipped my mind until later to take the initial Specific Gravity (SG) which measures how sugary the juice is.

When the fermentation has finished & the yeast has transformed all that sweetness into alcohol, the SG is taken again & the strength of the wine can be calculated, which is useful so that you know how much respect it deserves - some of the parsnip wine that I have made has been nearly as strong as sherry, so I serve it in a sherry glass.

If mum came round for Sunday lunch after church & I gave her a wine glass full, although it would slip down in a most agreeable fashion, I suspect that she'd fall asleep before pudding was served, & she'd certainly lose at Scrabble in the afternoon.

Measuring the SG is simplicity itself, assuming that you have a jug, a hydrometer & a sample tube (or a tall glass). As ever, sterilise these (DON'T use boiling water on the hydrometer! It will break! Use a tsp of sterilising powder in a big mixing bowl full of water and put the jug, tube and hydrometer in for 10 minutes before rinsing off with cold water).

Dip the jug in the bucket, fill the sample tube with the hydrometer in until it floats. Give the hydrometer a whirl round to dislodge any airbubbles & to make sure that it floats freely and read the SG off the scale.

The wine measures 1086 at the mo (the aim is for 1080-1090 as a start) so that's fine - and off it goes.

Tuesday, November 09, 2010

Blackcurrant Wine - Step 3, Day 4

Step 3: .... & a day later a wine yeast, & keep closely covered for five days in a warm place, giving it an occasional stir

Now for the exciting stuff - getting the yeast to do it's stuff to metamorphose the sugary fruit juice into delicious wine. And another easy step too, but - no - what's this? In the text CJJ says to add a wine yeast, but makes no mention of the nutrient that is listed in the ingredients section.

I have to say, that excellent tome his 'First Steps in Winemaking' is, it could have done with the services of a better proof reader - it has all sorts of inconsistencies & changes of style within the recipes that the beginner could well do without.

However, ploughing back through all the introductory stuff in the book - 'to obtain the best possible fermentation....it is wise to add a nutrient to give the yeast a boost'.

So the two go together & I add just under a tsp of yeast & the same of nutrient to each of my buckets, which are stirred, covered & will be left alone for five days save for an occasional stir with a (sterilised with boiling water) spoon.

Monday, November 08, 2010

Blackcurrant Wine - Step 3, Day 3

Step 3 - When it has cooled to about blood heat, add the pectic enzyme...

The blackcurrant wine has cooled down overnight, & it's time to add a tsp of pectic enzyme. Well, that's pretty easy, isn't it?

According to CJJ:

'It is a great help to extraction to add 1tsp of a pectin destroying enzyme to hasten the breakdown of the fruit (and incidentally, ensure a clear wine). '

and

'It is particularly important to use a pectin destroying enzyme with fruits high in pectin e.g. blackcurrants.'

If the pectin is not destroyed, then a 'pectin haze' might form, which looks like 'tiny jelly blobs rather like frogspawn surrounded by haze particles.'

Well, that's vile (I have some experience of this with last year's apple wine), so I've added a tsp of Pecotlase to avoid problems later, & given it a quick stir with a metal spoon (dipped in boiling water first to sterilise) & I've covered it back over and will leave it for 24hours for the Pectolase to do it's stuff.

Sunday, November 07, 2010

Blackcurrant Wine - Step 2, Day 2

Step 2 - Boil up the sugar in the water & pour, still boiling, on to the currants.

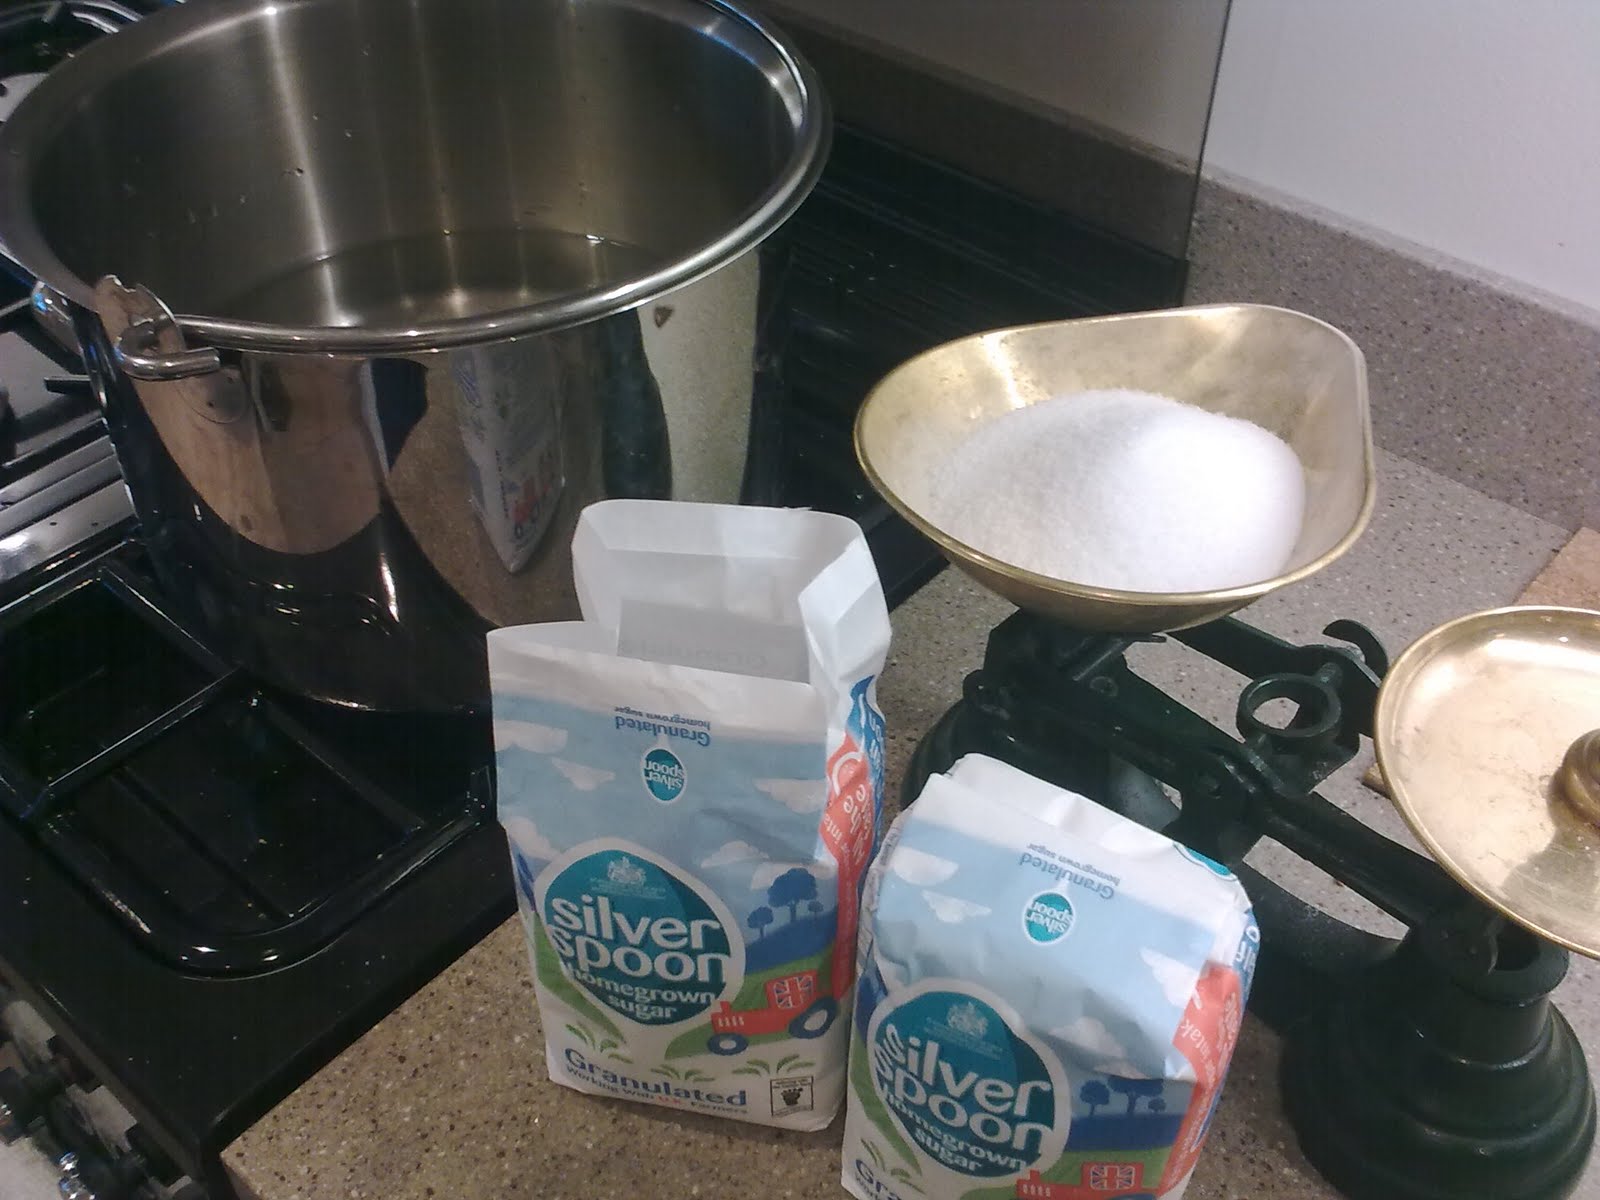
I've reached Step 2 in the making of the blackcurrant wine - I've a maslin pan which is ideal to boil up 8 pints of water & to add 2lb 12oz of sugar (rather than the 3lb that CJJ uses - he's got rather a sweet tooth, & sugar can always be added later on).

The sugar added isn't an exact science as the amount of sugar in the currants will vary depending on variety & ripeness. I'll be measuring how sweet the mixture is (the SG) before the yeast is added by using a hydrometer, & extra sugar can be added then.

At this point it is important to make sure that the bucket is big enough! A gallon of water, the sugar & the fruit will be 6 litres or more in total volume, so my weedy 5 litre bucket is not big enough - the mix is split into two buckets.

Then it is covered & can be left to cool down overnight, ready for Step 3.

Blackcurrant Wine - Step 1, Day 2

Step 1 - put the currants into a plastic bucket or bowl & crush them.

The blackcurrants for my batch of blackcurrant wine have defrosted overnight & are now ready to be crushed, per CJJ's first step.

Except that they are not are they? Close inspection of the bucket reveals that there are leaves & stems still on the blackcurrants due to lazy fruit picking back in July.

Actually, I'm not sure if leaving these in the mix will do any harm - after all, they will all drop to the bottom with the rest of the sediment in due course, but conscience dictates that I should pick out any stems and run a fork down them to ping the currants back into the bucket, & to fish out all the 'extra' stuff to leave just the blackcurrants in the bucket.

Well, what a tedious job that is, but it leaves a bucket of plump blackcurrants waiting to be crushed.

I've experimented with a number of methods of pressing soft fruit to extract the juice, & find that you can't beat using a potato masher (remembering to run boiling water over it first to sterilise). If I had a metal colander, I'd probably press the fruit through that - but I haven't, so the potato masher it is.

Once I'm happy that I've mashed every little currant, it's on to Step 2.

Saturday, November 06, 2010

Blackcurrant Wine - Step 1, Day 1

The golden rule with wine making is to keep everything clean, so even before the first step of making our batch of blackcurrant wine, the kit is sterilised.

This means that 1 teaspoon of steriliser is put in the bucket, & water up to the litre & a half mark, then let it stand for 10 mins or so, giving it a swirl round every now & again. Give the bucket a good rinse out with cold water, and away we go with step one.

The first instruction from CJJ is to put the currants into a plastic bucket or bowl & crush them.

Well, precisly 1 second into the wine making process, I have hit a hitch. I have 3lbs of blackcurrants, but they have just come out of the freezer, so although I can put the currants into a plastic bucket or bowl, I cannot crush them just yet.

They will defrost in their bucket overnight - covered with a lid - & I'll carry on tomorrow...

Blackcurrant Wine - Step by Step

I'm getting fed up with not being able to get anything in my freezer as it is rammed full of grapes, redcurrants, blackcurrants & elderberries, so it's high time that some of that lovely fruitiness was turned into something tasty.

In this case, something tasty will be blackcurrant wine, so turning to the trusty CJJ Berry's 'First Steps in Wine Making', he suggests the following:

Black, red or white currants 3lb
Sugar 3lb
Water 1 gallon
Yeast and Nutrient
Pectic enzyme

Put the currants into a plastic bucket or bowl & crush them. Boil up the sugar in the water & pour, still boiling, on to the currants. When it has cooled to about blood heat, add the pectic enzyme & a day later a wine yeast, & keep closely covered for five days in a warm place, giving it an occasional stir. Then strain into a fermenting jar, fit an airlock. Let it stand until fermentation ceases & the wine clears, usually in about three months, then siphon off into fresh, sterilised bottles.

I'm going to interpret the above as I see fit - ha! - & I'll try to set down what's happening without any shortcuts - like assuming that sterilising stuff is a given, or thinking that how to do this or that is obvious. After all, you're reading my blog, not reading my mind!

So, being in possession of all of the above ingredients as well as a bucket, sterilizing powder, a demijohn, an airlock, a tube for syphoning, a tall sample jar & a hydrometer (all off the shelf from Wilkinson, or from a brew shop) & a funnel, we're off....
Related Posts Plugin for WordPress, Blogger...